Step 1: Get your Opik credentials
In Comet, set up your Opik workspace and project:- Log in to your Comet account
- Create or select a workspace for your LLM traces
- Create a project within the workspace
- Go to Settings > API Keys to create or copy your API key
Step 2: Enable Broadcast in OpenRouter
Go to Settings > Observability and toggle Enable Broadcast.
Step 3: Configure Comet Opik
Click the edit icon next to Comet Opik and enter:- Api Key: Your Comet API key (starts with
opik_...) - Workspace: Your Comet workspace name
- Project Name: The project name where traces will be logged
Step 4: Test and save
Click Test Connection to verify the setup. The configuration only saves if the test passes.Step 5: Send a test trace
Make an API request through OpenRouter and view the trace in your Opik project dashboard.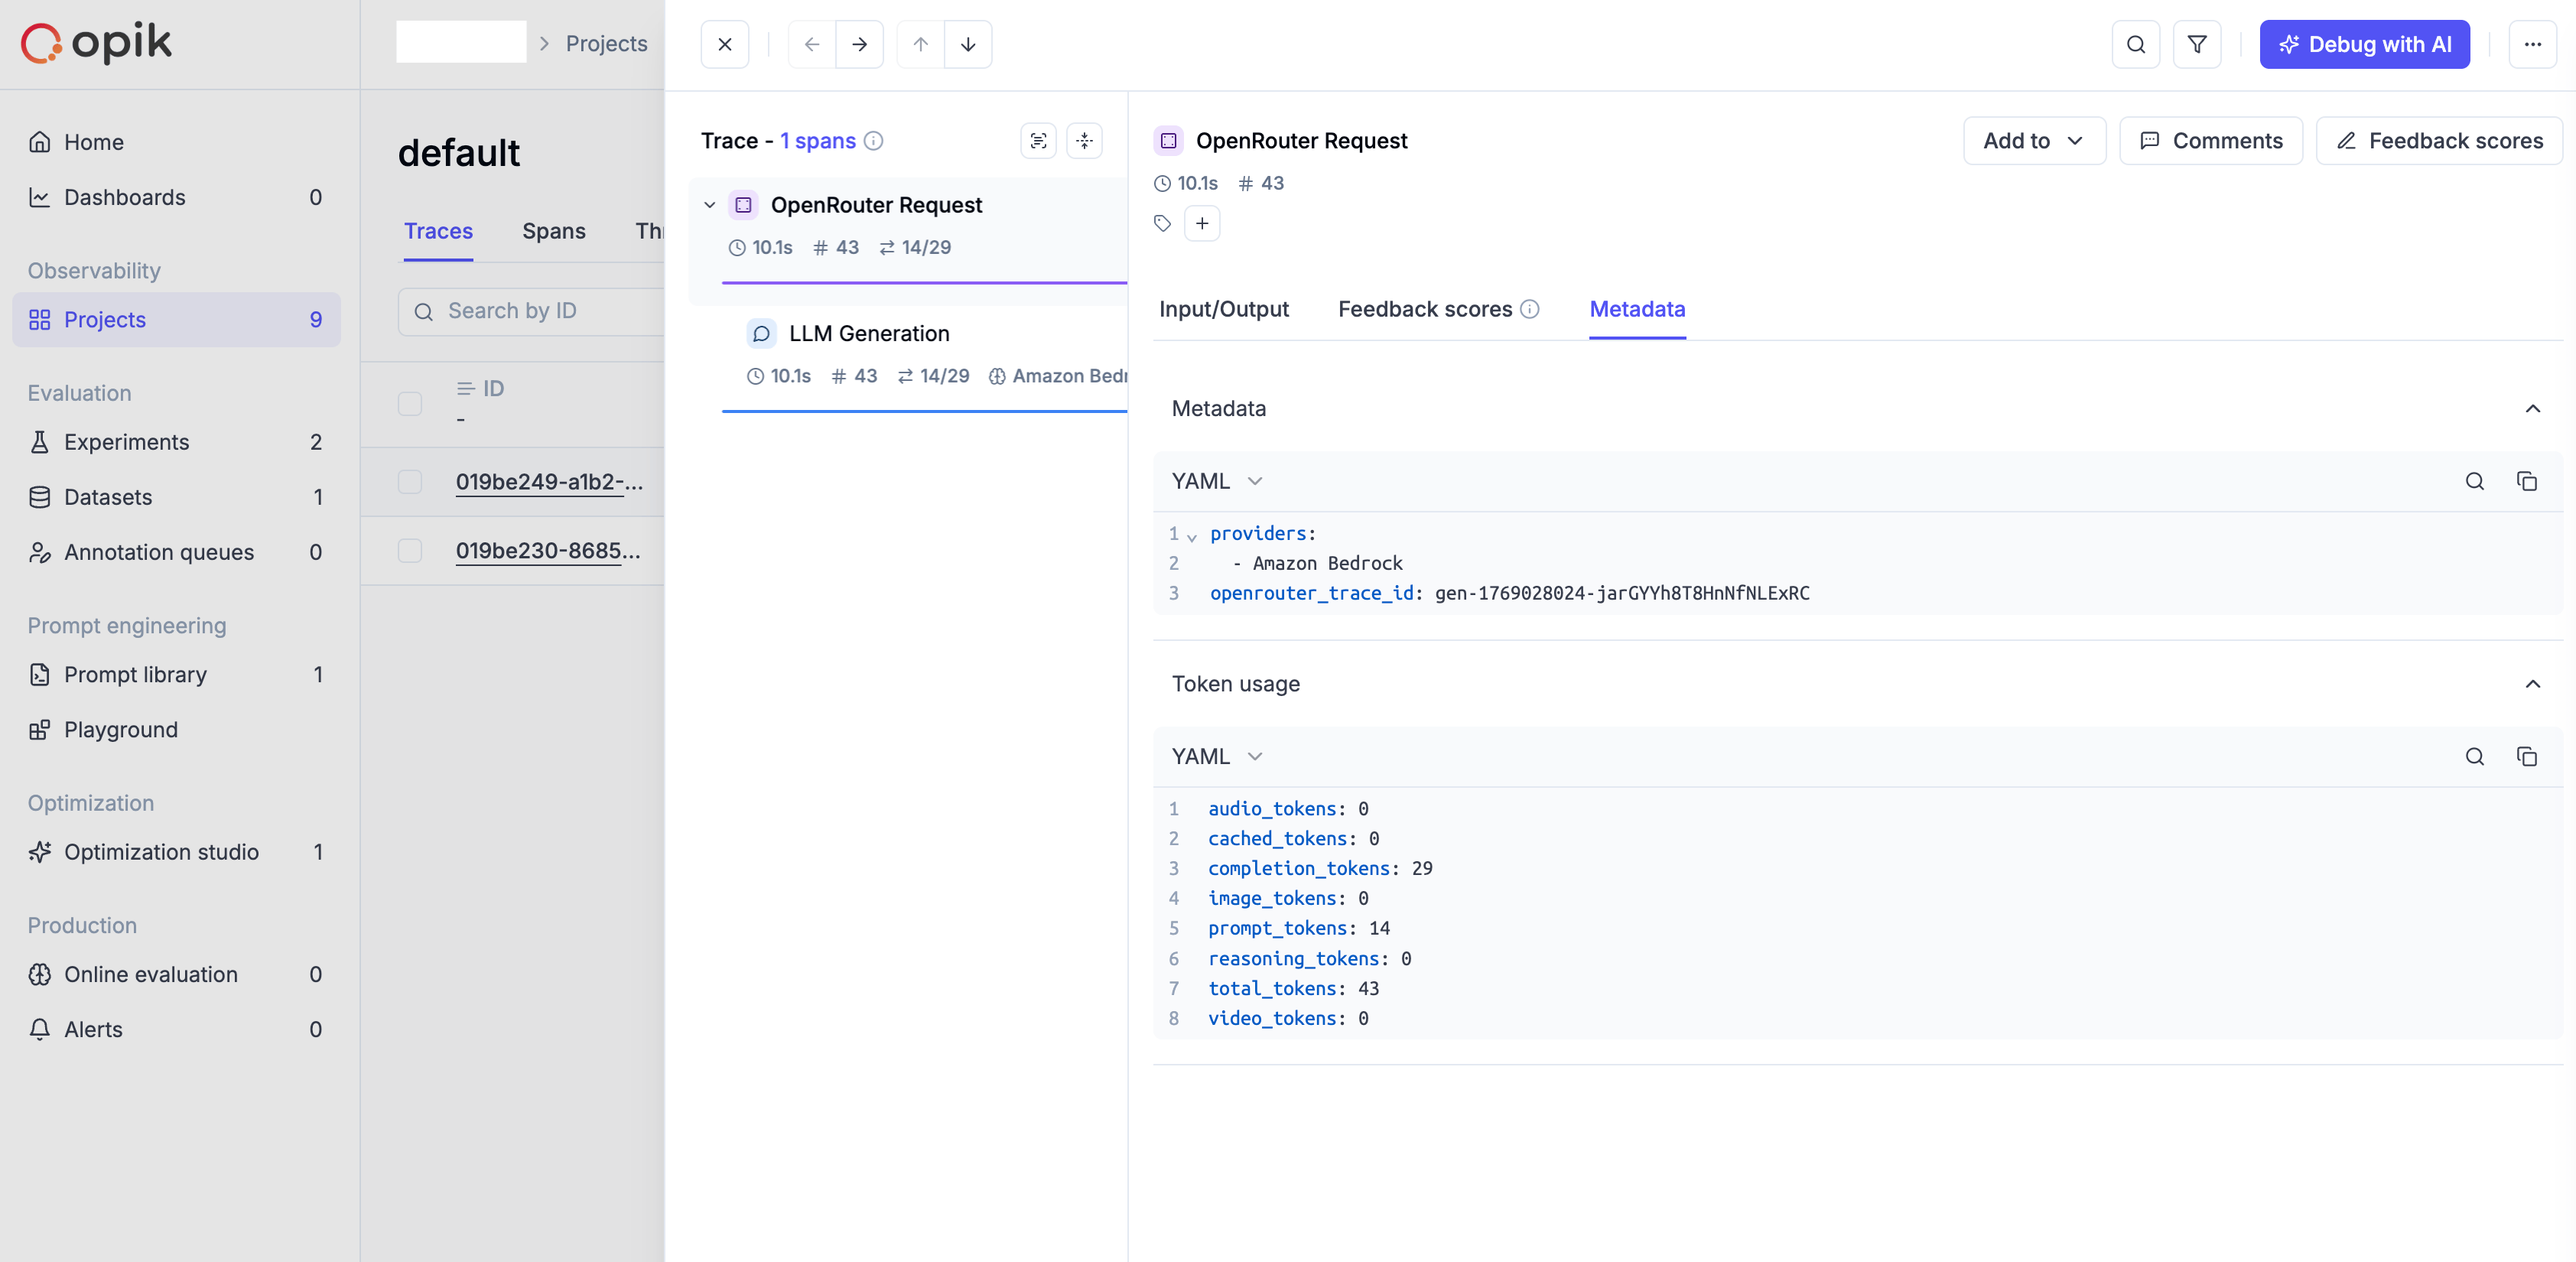
Custom Metadata
Comet Opik supports custom metadata on both traces and spans for organizing and filtering your LLM evaluations.Supported Metadata Keys
| Key | Opik Mapping | Description |
|---|---|---|
trace_id | Trace metadata (openrouter_trace_id) | Group multiple requests into a single trace |
trace_name | Trace Name | Custom name displayed in the Opik trace list |
span_name | Span Name | Name for intermediate spans in the hierarchy |
generation_name | Span Name | Name for the LLM generation span |
Example
Additional Context
- Custom metadata keys from
traceare included in both the trace and span metadata objects - Cost information (input, output, total) is automatically added to span metadata
- Model parameters and finish reasons are included in span metadata when available
- The
userfield maps to user identification in trace metadata - Opik uses UUIDv7 format for trace and span IDs internally; original OpenRouter IDs are stored in metadata as
openrouter_trace_idandopenrouter_observation_id